

一直以來都有個困擾,就是查個程式寫法或是軟體操作方法每次都很快就忘記,所以想寫個Blog紀錄自己的手順,先前曾想過直接寫個網頁PUSH到GitHub上,但實在有點累( ˘・з・),偶然又看到有個很喜歡的排版是用Ghost建立的,因此使用Ghost+GitHub的形式建立部落格
安裝Ghost
安裝Ghost-CLI
使用npm或yarn指令安裝Ghost-CLI
npm install ghost-cli@latest -g初始化Ghost目錄
開啟終端機,移動到要建立Ghost的目錄並使用指令安裝Ghost
ghost install local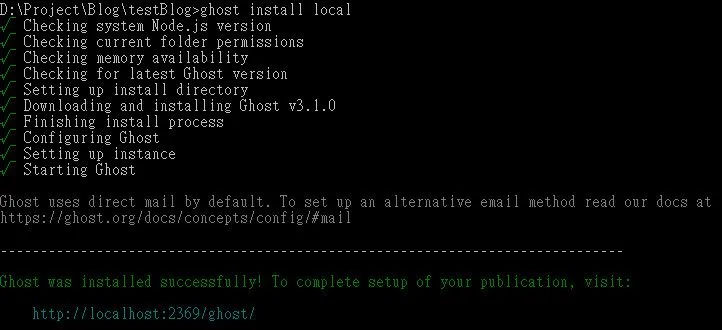
安裝完成後開啟git bash切換到同一目錄並初始化目錄
git init
git add -A
git commit -m "Initial repository"
安裝npm並更新repository
npm install
git add -A
git commit -m 'Installed Node dependencies'
安裝knex-migrator並更新repository
npm install -g knex-migrator初始化資料庫
knex-migrator設定Ghost
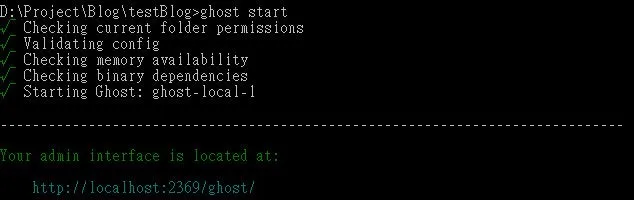
移動到已安裝Ghost的目錄並輸入指令開啟Ghost
ghost start一般使用http://localhost:2368/ghost開啟Ghost的管理介面,但因為先前已經在另一個地方裝過一個Ghost,所以畫面顯示以http://localhost:2369/ghost/開啟管理介面
填寫網站名稱及作者基本資料
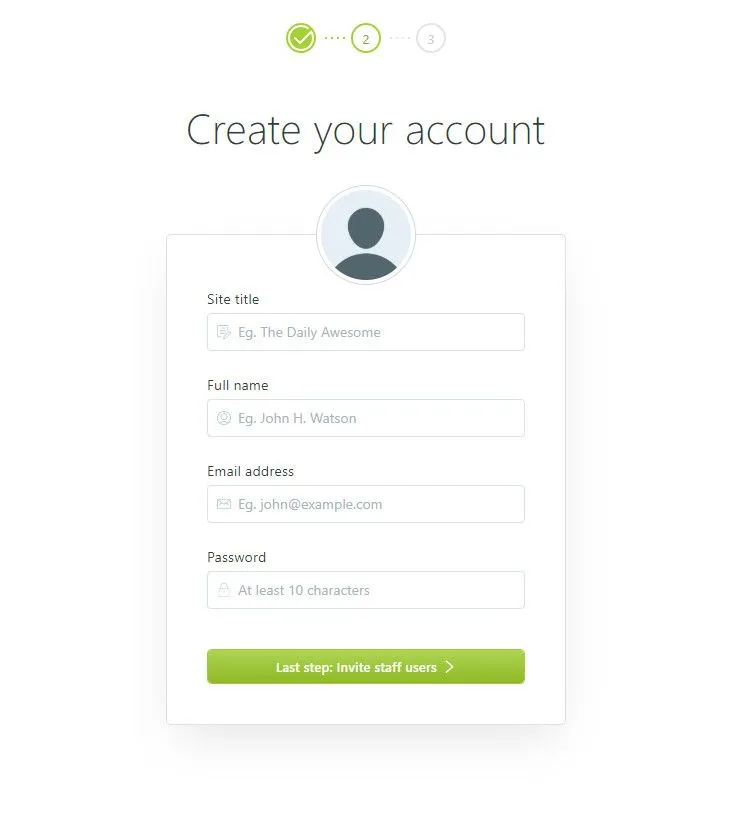
可輸入email邀請其他作者一起協作,只有自己使用的話則按下方直接進入管理介面

更新repository
git add -A
git commit -m 'Finished local Ghost setup'
將網頁輸出為檔案
使用wget輸出網頁到docs資料夾內
- —mirror : 鏡像下載所有檔案相當於-N -r -l inf —no-remove-listing選項
- -N : 若遠端檔案較新則下載檔案
- -r : 遞迴下載
- -l : 最大搜尋深度(0或inf表示無限)
- —no-remove-listing : 不刪除.listing檔案
- —convert-links : 轉換檔案內路徑為符合本地目錄的路徑
- —page-requisites : 下載所有顯示網頁所需的檔案,例如圖片等
- -nH : 不建立名稱為網站名稱的目錄,直接在當前目錄建立檔案
- —no-parent : 不進入上層目錄
- -P : 指定下載目錄
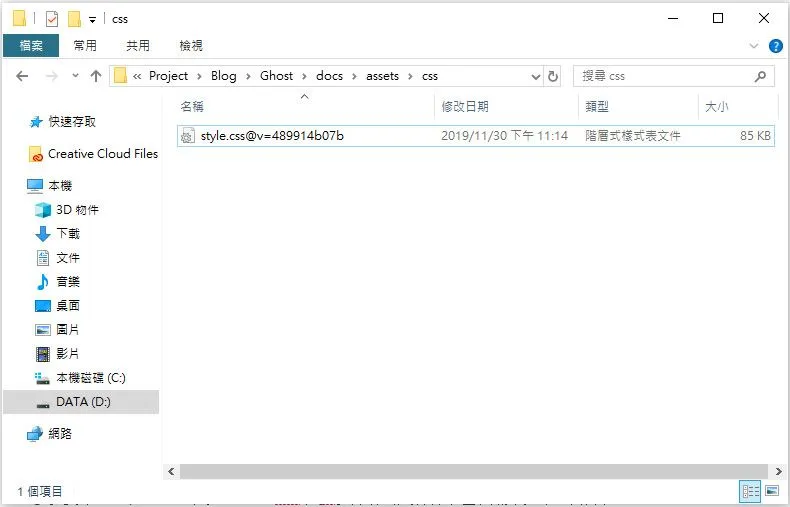
wget --mirror --convert-links --page-requisites -nH --no-parent -P docs http://localhost:2368/由於從Ghost抓下來的css、js的檔名和html內的相關路徑都會被加上類似下圖.css後方的字串,若直接傳到GitHub Pages上的話會讀不到,我們可使用Notepad++將目錄中所有檔案中有包括此字串的替換為空字串

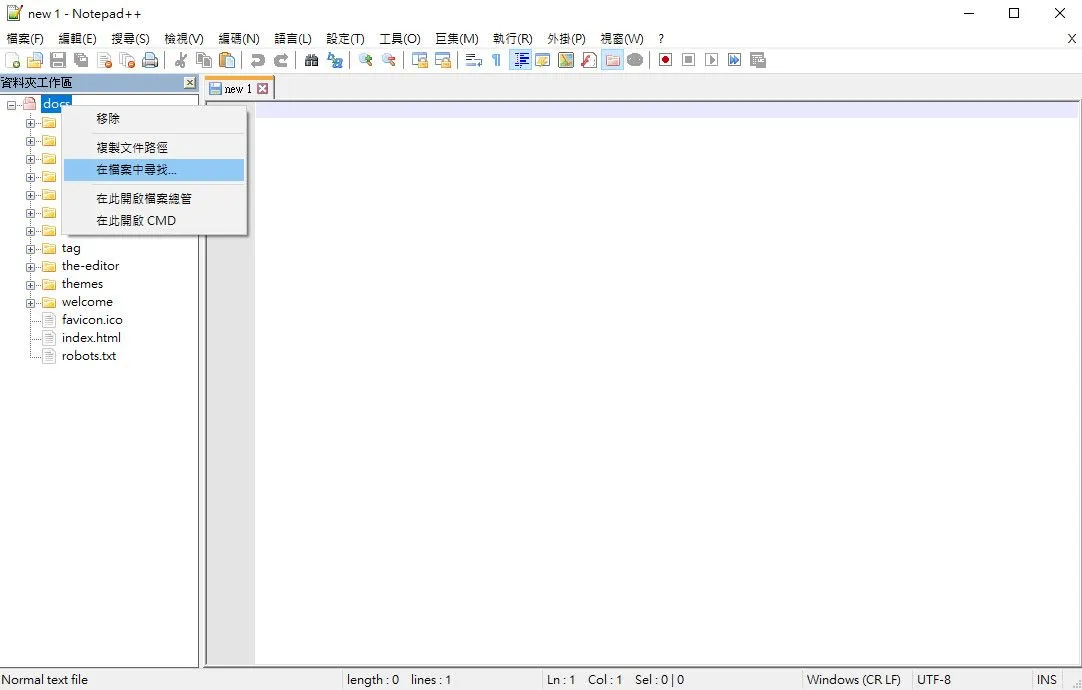
開啟Notepad++,點選在檔案中尋找
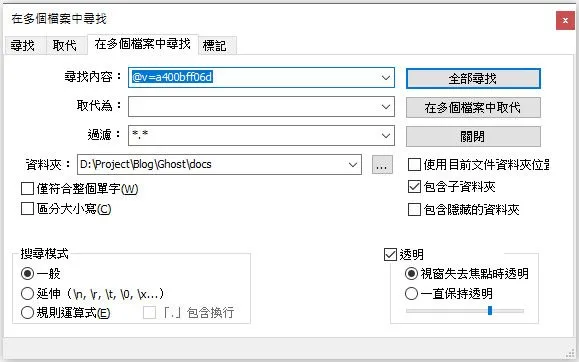
輸入要刪除的字串並按下在多個檔案中取代
更改docs/assets內built、css和js資料夾內所有包含該字串的檔名
更新repository
git add -A
git commit -m "Export website to docs file;"
PUSH檔案到GitHub
設定遠端倉庫
git remote add origin <webURL|SSH Key>將master分支推送到origin倉庫
git push -u origin master設定GitHub Pages
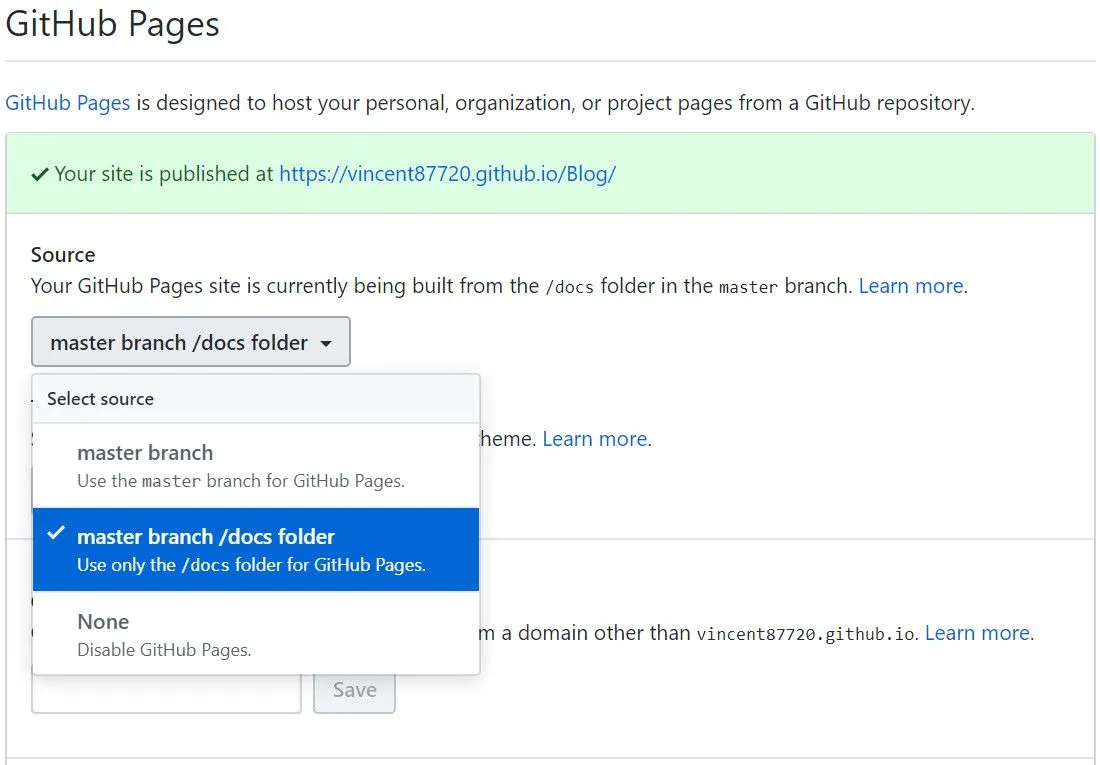
進入剛剛上傳的GitHub的Repository,點選settings標籤

尋找GitHub Pages區塊,選擇master branch /docs folder作為網頁來源
已可瀏覽網頁
在網址列輸入http://帳號.github.io/RepositoryName即可瀏覽網頁